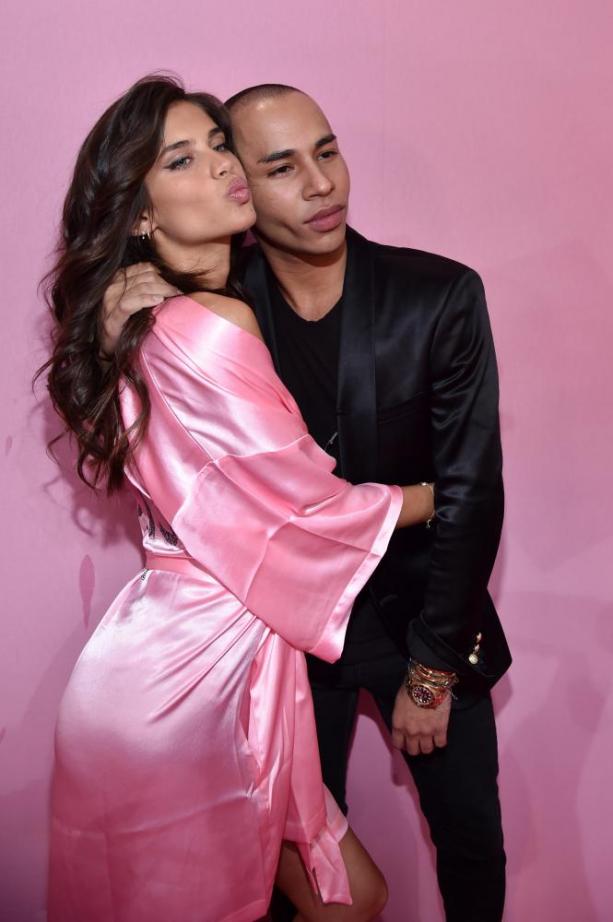
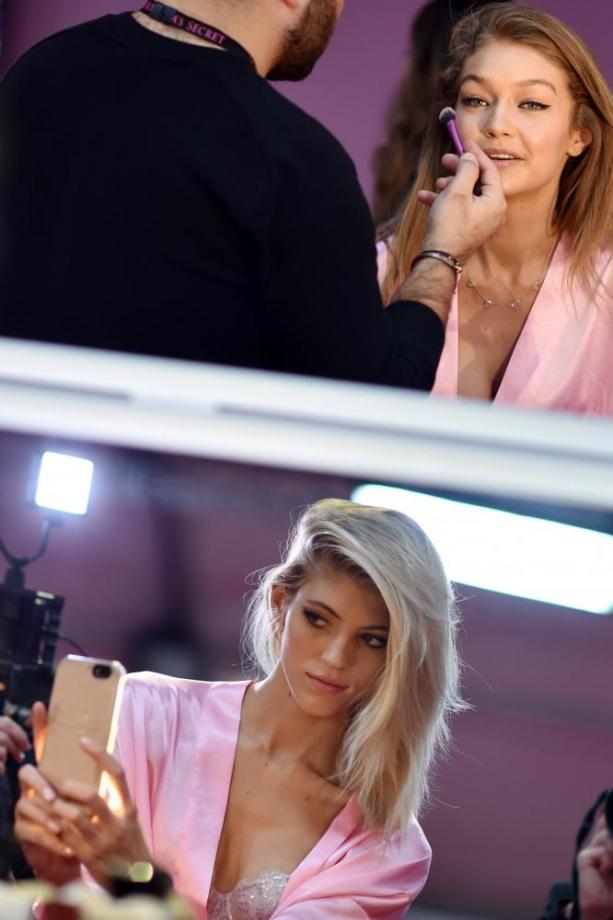
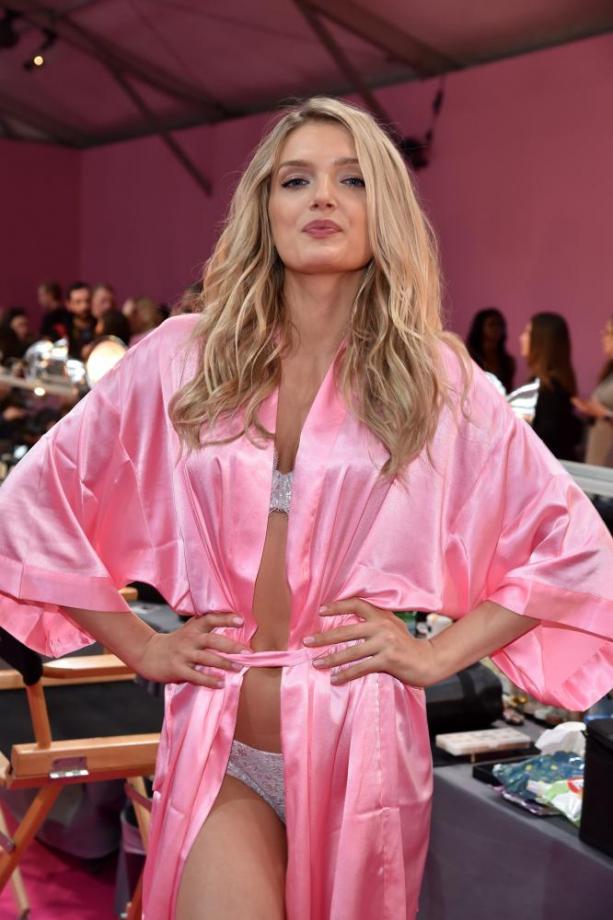
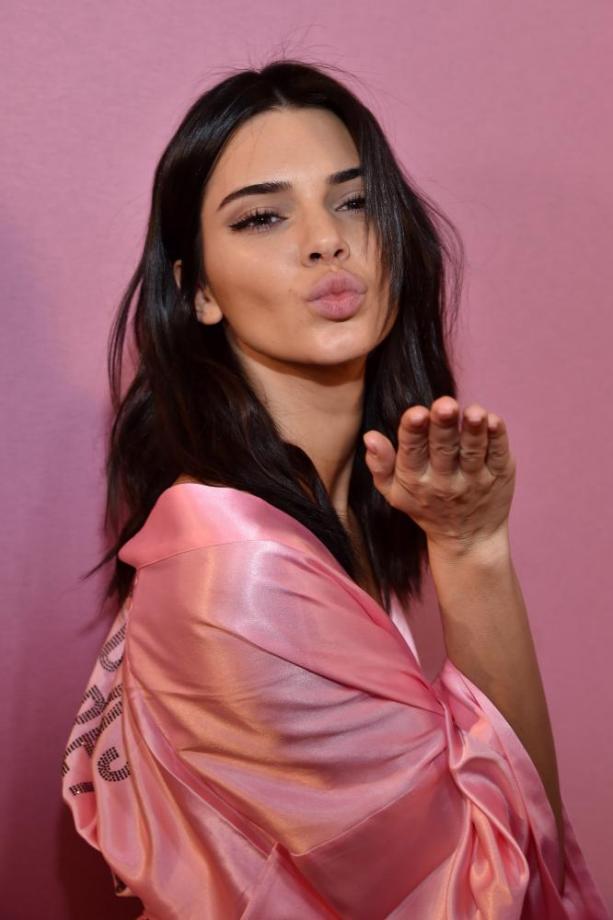
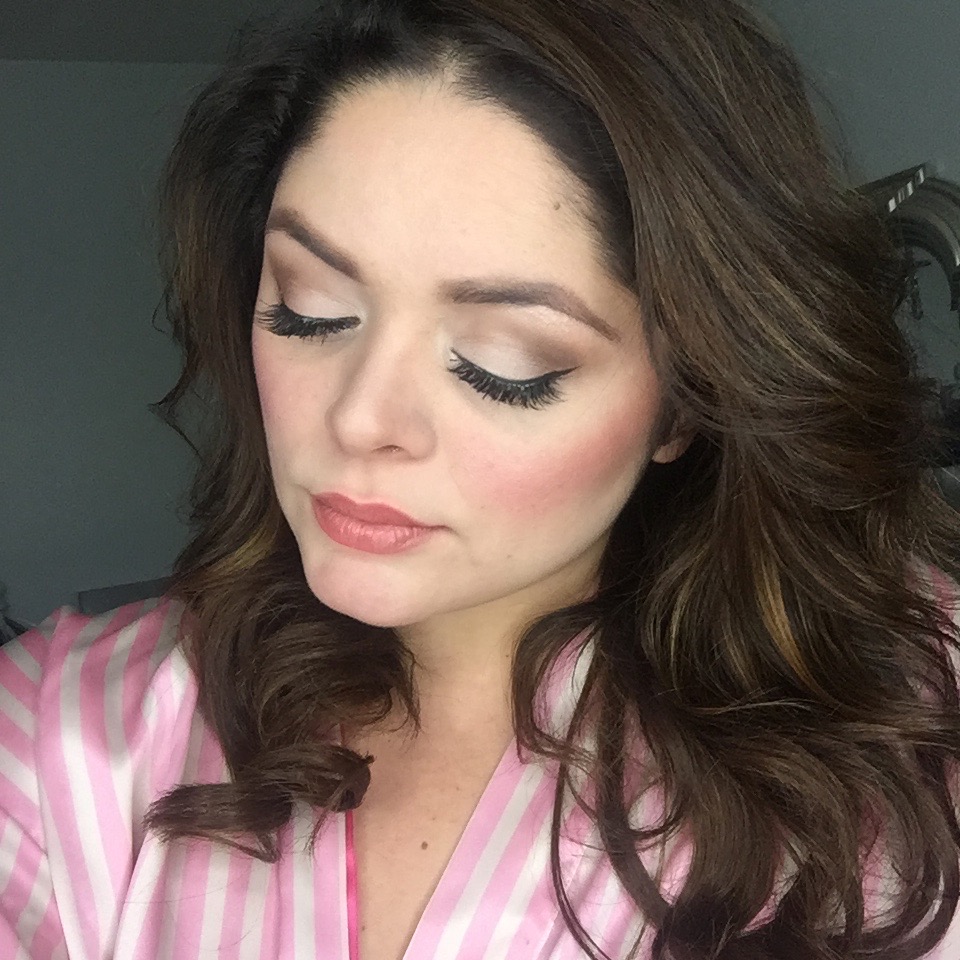
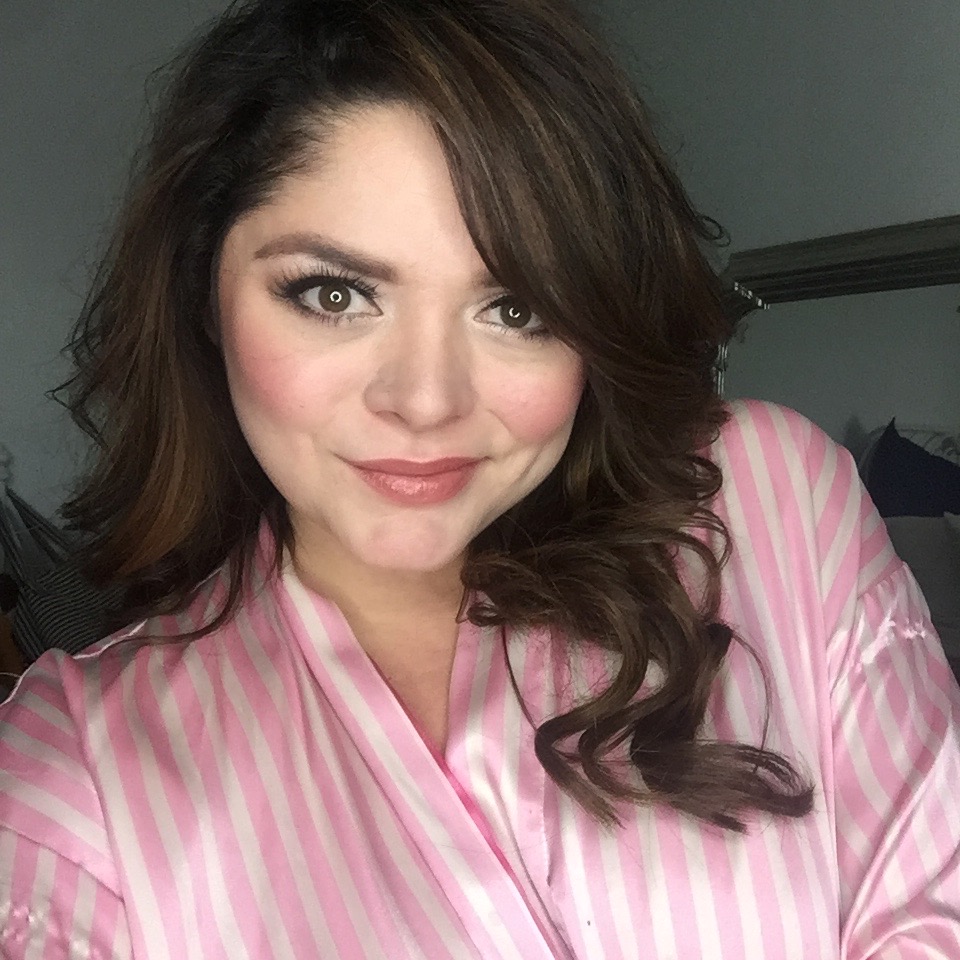
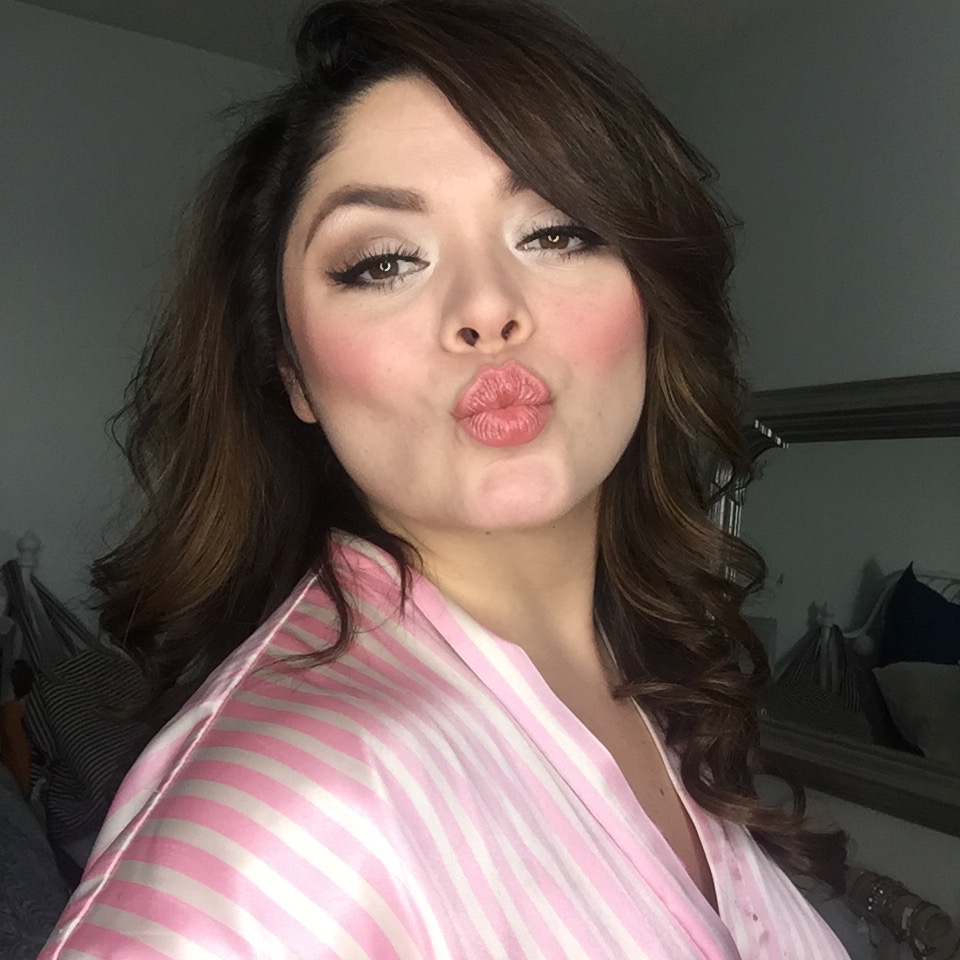
NYE look! Ring in the new year looking like a VS Angel!
Ring in the new year looking like a VS Angel!
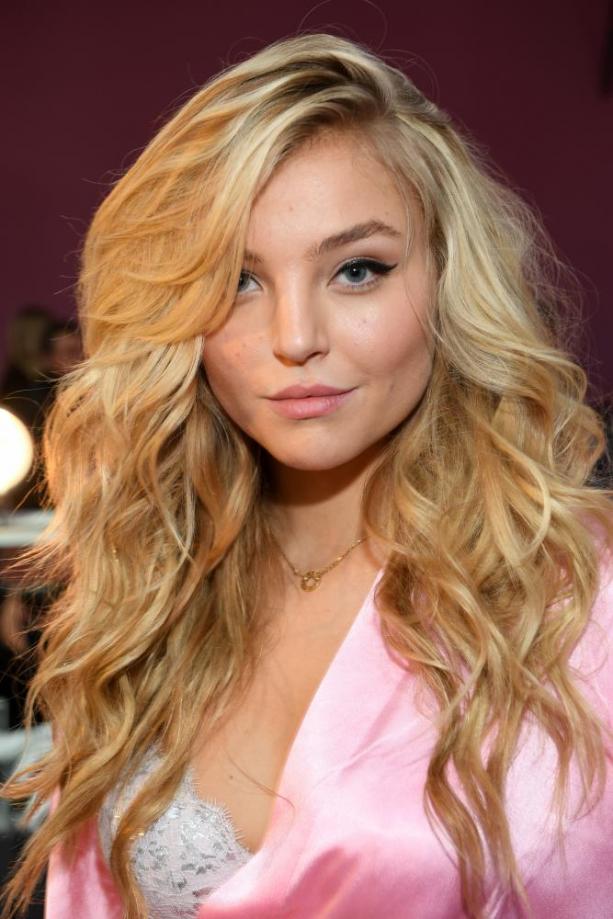
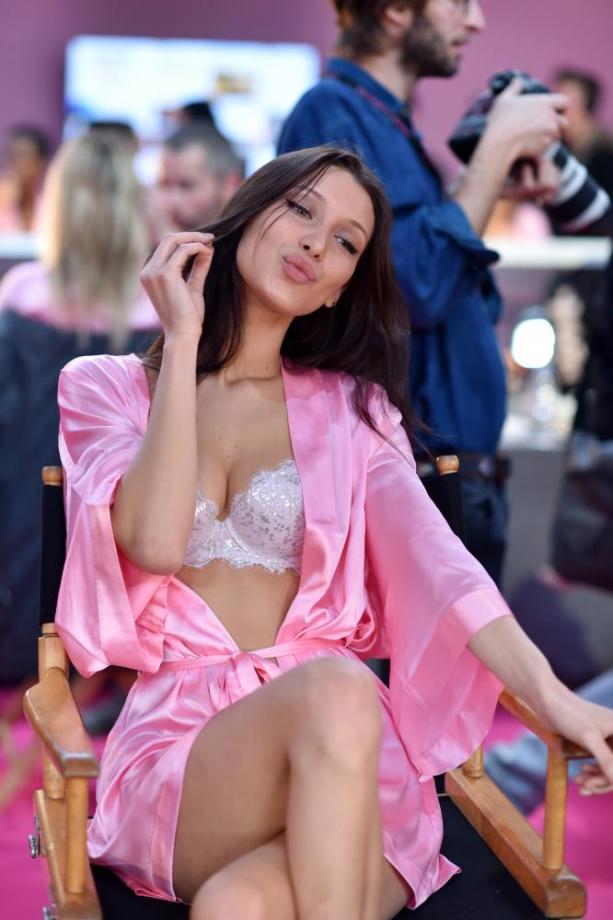
So, if you’re anything like me, you are obsessed and are inspired by the fabulous ladies of the Victoria’s Secret Fashion Show! And— even better, this look is great for New Year’s Eve! I know the show aired early in December, but was saving this for an easy NYE look that won't take you more than twelve minutes, fifteen max if you do the (extended) version.
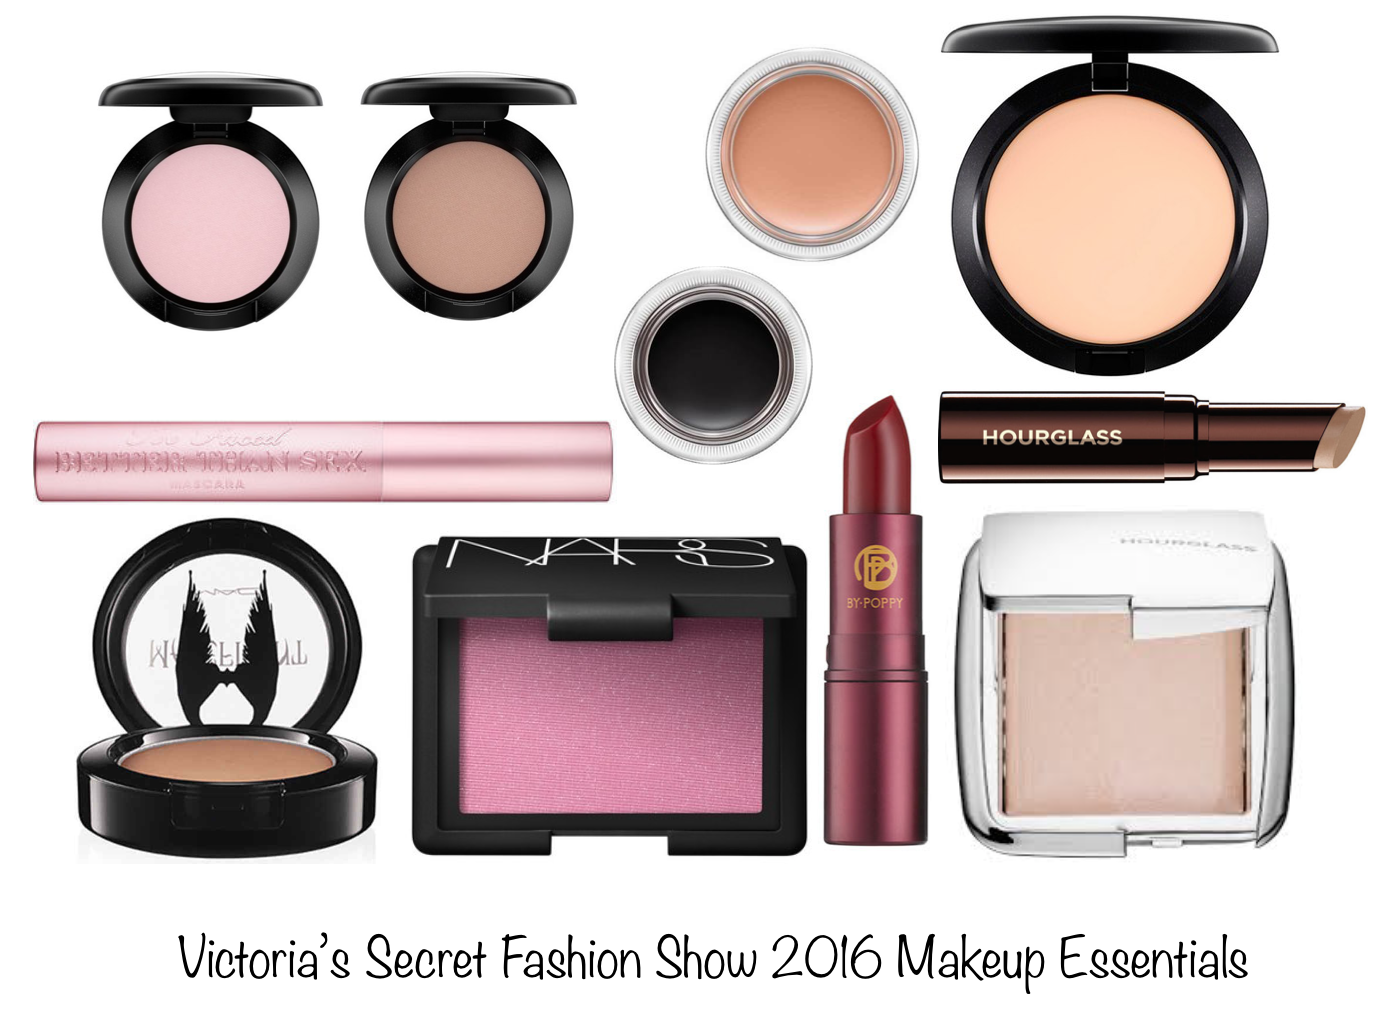
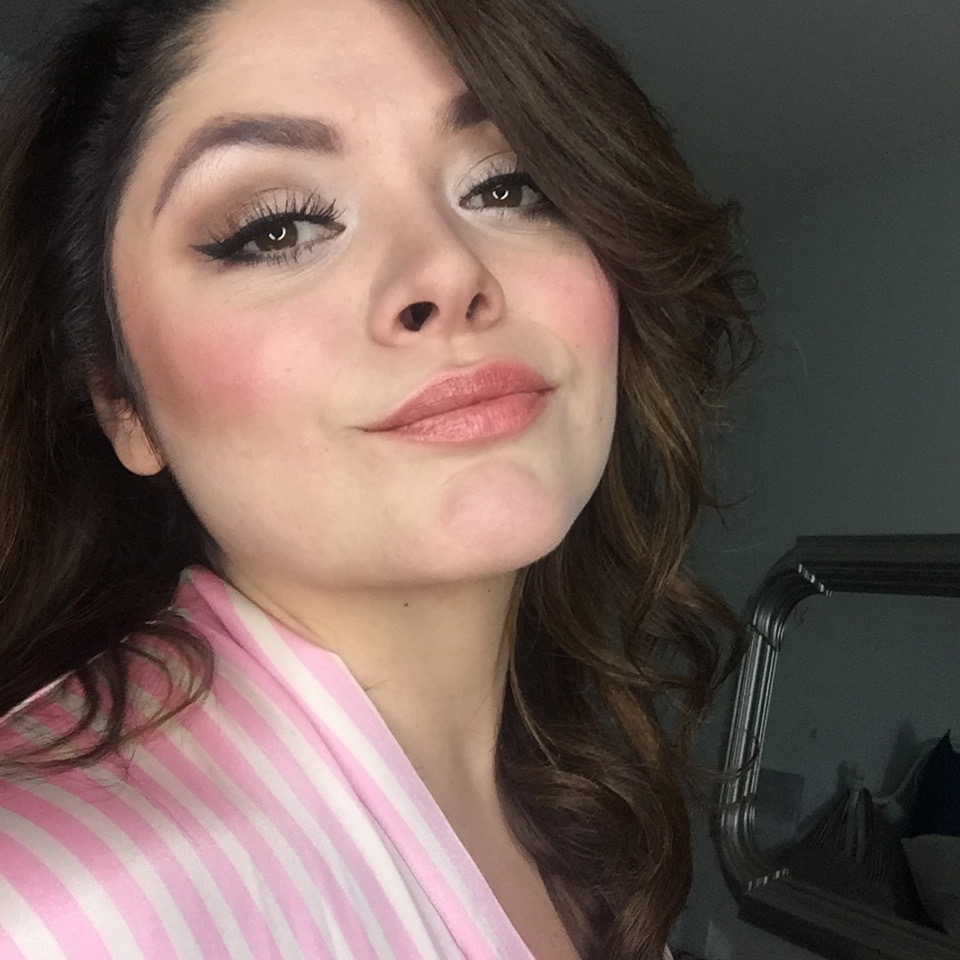
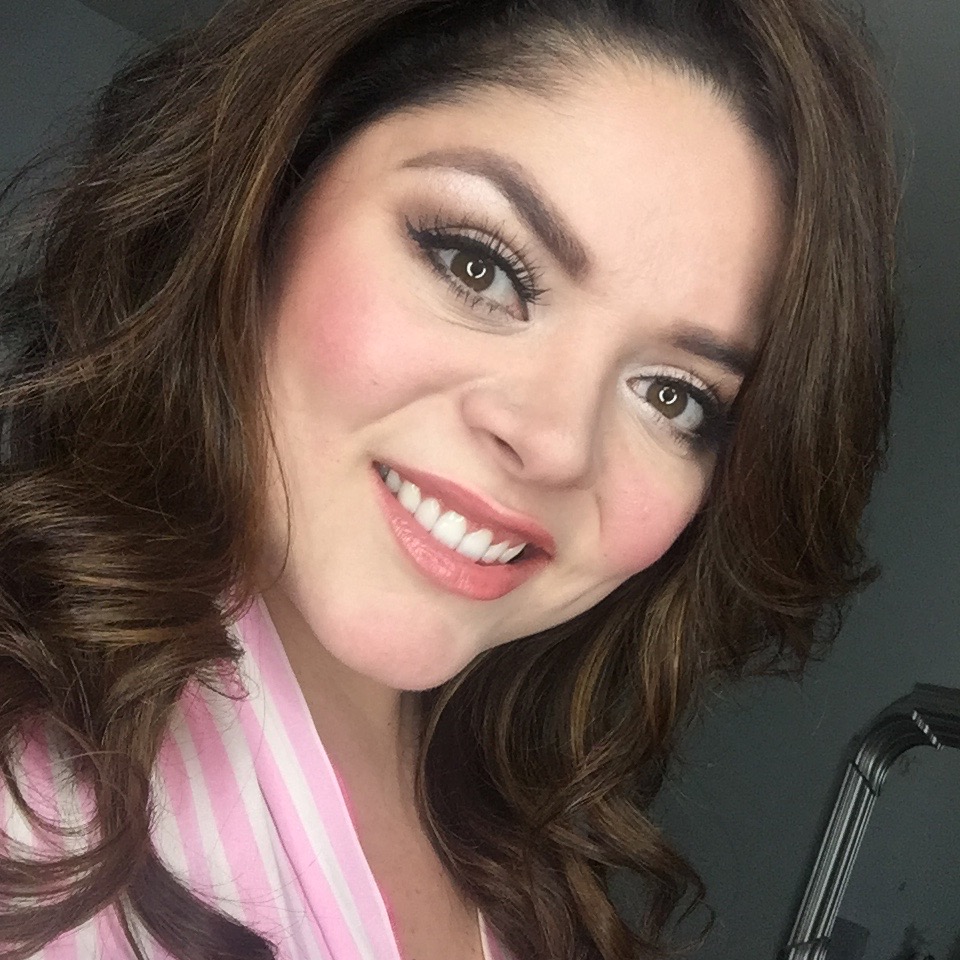
Every year the look is slightly different but usually has a common thread, it’s perfectly soft! This year they went with a soft, bright eye with subtle cat eye liquid liner. Not a thick hard line, but a classic subtle cat eye that starts at the outer corner and disappears just above the pupil into the thinnest line. I looked a few pictures and came up with my own interpretation of how you can achieve this look. Most items are in the above collage minus a few standard basics.
Skin
MAC BB CREAM
The models’ skin is always perfect. Naturally. I know. So since they have great skins to begin with, they don’t have much to cover up. Always prep with moisturizer! Hydrate, hydrate, hydrate especially in the winter months. Here is a link to my dry-skin essentials a few months back. Next, for a bit of coverage, I applied MAC BB Cream in Extra Light. I know, it’s lighter than I am, but I love to be pale! For a true VS appearance, add a hit of bronzer to sculpt your face. I evened my skin out all over using a Sigma buffing brush to make it flawless.
HOURGLASS HIDDEN CONCEALER
Then, I covered my dark circles (an unnecessary constant in my life) with my favorite Hourglass Hidden Concealer. I always apply to the inner corner, into the well of my eye, all the way out to the outer corner/temple of my eye for a flawless blended in finish.
MAC MALEFICENT SCULPTING POWDER
I sculpted my cheeks and nose SLIGHTLY using MAC Maleficent sculpting powder. I know I should get a new one, but it just works so well for me and I am trying to actually USE all my makeup before I go out and buy more. I just lightly swept this into the hallow of my cheek. Any sculpting powder will work!
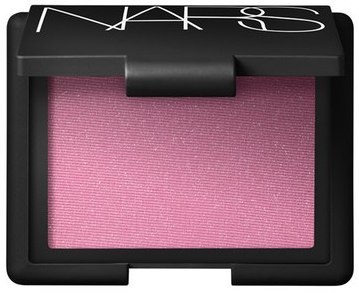
NARS ANGELICA BLUSH
I added a beautiful pop of hot pink! The models are always super flushed and bright and rosy. It doesn’t just work for the runway, I think it’s so pretty in real life too! I applied NARS Angelica right to the front of the apple of my cheek and used a large powder brush. With the blush, you want it to be full and fresh, like you just got done working out. No sculpting necessary here!!
HOURGLASS INCANDESCENT STROBING POWDER
For a HINT of highlight, I added a pop of Hourglass Incandescent to the tops of my cheeks with a large fan brush, down the bridge of my nows and above the cupids bow.
EYES
Now for what we’ve all been waiting for. THIS LOOK IS SO SIMPLE. You just need really two shadows and a liner. You could go a step further, and I’ll tell you how.
MAC LAYIN LOW PAINTPOT
Handy dandy Layin’ Low grabs on to your shadow and makes it last all day. The peach color also covers any darkness on your lids, as well. I dab this on with my finger tip from my lash line to just above the crease.
MAC PHLOOF EYESHADOW
They kept the eyes bright and open. Phloof! is one of my favorite highlighters! It’s a soft silvery pink that is nice and cool that compliments most skin tones. If you’re more golden, you may like MAC NYLON better to achieve this look, it’s just a bit more yellow. I applied this somewhat heavily with a fluffy shadow brush from the inner corner of my eye, all over the lid and up under the brow bone. Then, when you're done with the Phloof!, pop this with a wide brush into the tear duct and the inner third of your lower lash line.
MAC WEDGE EYE SHADOW
This is a great sculpting shadow. I went in with a large fluffy blending brush and started with a heavy hand from just above the crease and brought it in about halfway, not all the way into the crease. Carving out the crease all the way would have been too hard and close the eye off. Keep the inner third of your eye nice and bright with that Phloof! Wrap the wedge under neath the outer half of the eye with a pencil brush.
MAC BLACKTRACK FLUIDLINE
Who doesn't love this classic liner?! I was using my Stila Stay All Day for ages and forgot about my MAC one. I used a tiny MAC 210 liner brush. I started from the outer corner. This particular look starts heavier on the outer corner to give the eye a wider set look, and tapers down pretty quickly to the pupil. I barely dragged it in to the inner lash line. Remember, this look is soft and simple, it's not a super-perfect look. You want your liner to be as even as possible, but it is a bit lived in.
TAKE IT A STEP FURTHER
LORAC MATTE PRO-PALETTE
I am obsessed with the Lorac Matte Pro palette. You can take the white and layer it on top of the Phloof! and bring it just to the bottom of the crease, and layer a bit more pholoof on top. Then you can take the darker cool matte shade Courduroy and sweep this just to the very top of the crease. I didn’t put it directly in the hallow so I could keep my eye bigger. I slightly dragged it up into the hallow of the outer part of my eye. Again. Focus the darker shade on the OUTER part of the eye. Keep it on the outer third. Remember, keep those eyes nice and wide. This is just if you want to take it a bit further.
BETTER THAN SEX MASCARA
They always have tons of full fluffy lashes. Better than Sex is my favorite! Layer this on your top lashes and your bottom lashes, focusing on the outer half on the bottom.
LASHES
You can do some outer corner lashes if you want, but I always do a full strip. I did my classsic RWSP lashes. I glued them on, waited for them to dry, then pushed up the outer corners to give it a lifted cat eye look that the models have. You can even add a few extra long clusters to the outer corner for extra fringe! <3
Hourglass Arch
Lorved the brows this season! They were full and voluminous. I applied two coats of this into my brows and extended it into the baby hairs that I have. I learned that from the MUA who did me on Silicon Valley last season! Find the highest arch that you have and work from there. Don't be light handed, this waxy based pencil is hard to mess up. It's easy to build up the shape with the color, then brush through with the spoolie brush to keep everything up, lifted and in place to give you that bright eyed effect.
LIPS
They had the perfect sheer tint of color on the lips. It was a soft, sheer rosebud type color. I love my LIPSTICK QUEEN Medieval Red lipstick. It’s the most perfect sheer red that give just a hint of color. This is one of my favorite night out and day time audition lipsticks!
I hope you found these recommendations easy and already in your makeup drawer. Seriously, the look was flawless and soft and very effortless. Another thing to keep in mind, the liner was pulled out more to the side rather than up to keep the eyes wider. I hadn’t done this in a long time and loved the finish. Let me know what y’all think and how it works out for you! I can’t wait to see your looks!
What are some of your resolutions? Mine is to get more (and better!) sleep, do pilates 3 times a week, take a new acting class, finish writing my series with my writing partner aaaaand actually spend time doing my hair and makeup. I have a few more plus goals, but that's what came to mind immediately. Let's go 2017! I'm ready for you! <3
XOX, ALYSSA

